Earthworms
Vermicomposting is a great way to create your own high quality fertilizer.
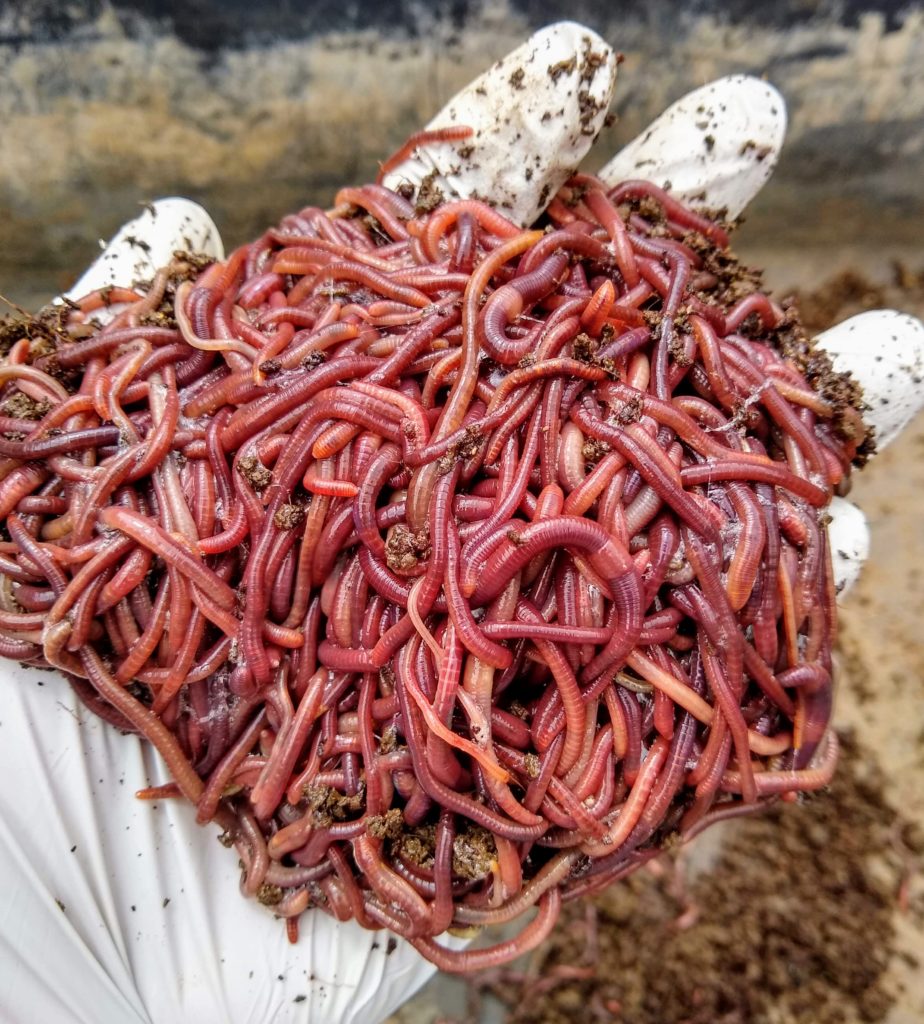
Earthworms are easy to care for and reproduce quickly when provided with the right conditions.
Start with:
- 1 pound of composting worms
- a 30 gallon storage bin
- a five gallon bucket half filed with garden topsoil
- 2 cups of kitchen scraps or vegetable cuttings
Composting Bin
Using a 1/8″ bit, drill holes in the bottom of the container to allow for adequate drainage so the worms don’t get flooded if it rains heavily.
Lid
Using a 1/2″ bit, drill holes in the lid for ventilation.
Some people choose to place a second contaner or pan under their worm bins to collect the runoff “worm tea”. Peresonaly, I think this kind of leachate is pretty grose. It’s runoff from partially decomposed matter. It smells horrible, and attracts flies.
It’s better to just be patient and let the worms diggest and process all of the organic matter in the container. Fully decomposed organic matter that has passed all the way through a worm is water soluable, and has no unpleasant oder.
If you are handeling compost from your container and it has a bad smell. It means it’s hasn’t fully broken down yet. It could harbor pathogens and is not ready for use.
Initial Layers
Make a 3″ to 4″ layer of soil on the bottom of the container. Make a second layer using your green watse and worms. Then make one last layer using the rest of your soil. Then replace the cover to keep out birds and rodents.
Some people like to add cardbaord or shredded newspaper. I prefer to use soil from our garden because it innoculates the compost pile with microbes and small insects which accelerate decomposition. The soil also adds tiny particles of grit which helps with digestion.
Be Patient
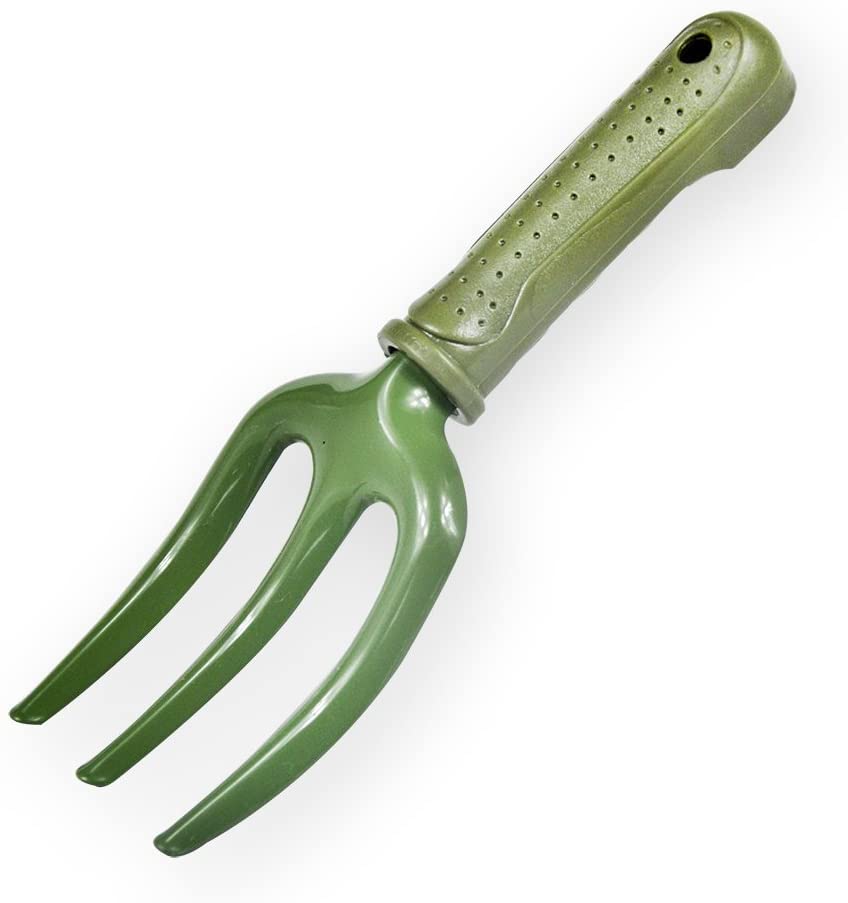
Go easy on the green waste. Using a blunt hand fork gently till the compost pile to see how well everything is breaking down.
Don’t add new compost untill ~80% of the original green waste has broken down.
The worms are still acclimating and reproducing at this stage. They are burrowing through the pile, redistributing moisture and depositing eggs as they go. It’s going to take a little time before they get their numbers up to full strength.
If you start adding compost faster than the worms can consume it, a lot of it will end up rotting before they can get to it.
A well balanced compost pile, where food is being added at a rate comperable to what the worms can consume, shouldn’t have a strong or unpleasant oder. It could be a little steamy or musky. But it shouldn’t have a sharp, sour or bitter smell.
“Forrest floor” = Good
“Dumpster” = Bad
If you find that the compost bin has a bad smell, you can till in brown leaves or shredded news paper. This will absorb some of the excess moisture and create air pockets in the pile for gas exchange.
If the pile can’t breath properly, it can create an anarobic environment. Most of the really unpleasant smells are associated with anarobic processes.
If you are getting a bad smell, but do NOT observe excess moisture in the pile, you might need to increase the ventilation by drilling more holes in the lid.
Hydration
Water your compost bin several times a week. You don’t want to swamp the compost bin, but worms breath through their skin, and if they can’t create mucus or keep moist they will suffocate.
It might take a little while to work out the best watering schedule depending on how fast your container drains, how much airflow and sun it gets. It’s best to make multiple checks per week, during the break in phase, to make sure the container doesn’t go dry while you are figuring things out.
Feeding
When you are ready to start adding compost regularly. Start small and slowly increase your portions over time to keep pace with the growing worm population. If you start to out pace the worms, back off and go back to the prior portion size untill you observe the worms catching up.

Lay new green waste across the surface of the compost file, then use your hand fork to gently till a small layer of soil over the top, this improves access for the worms and enabes them eat from all sides at once. This will also reduce any smells that might attract pests.
Collecting Castings
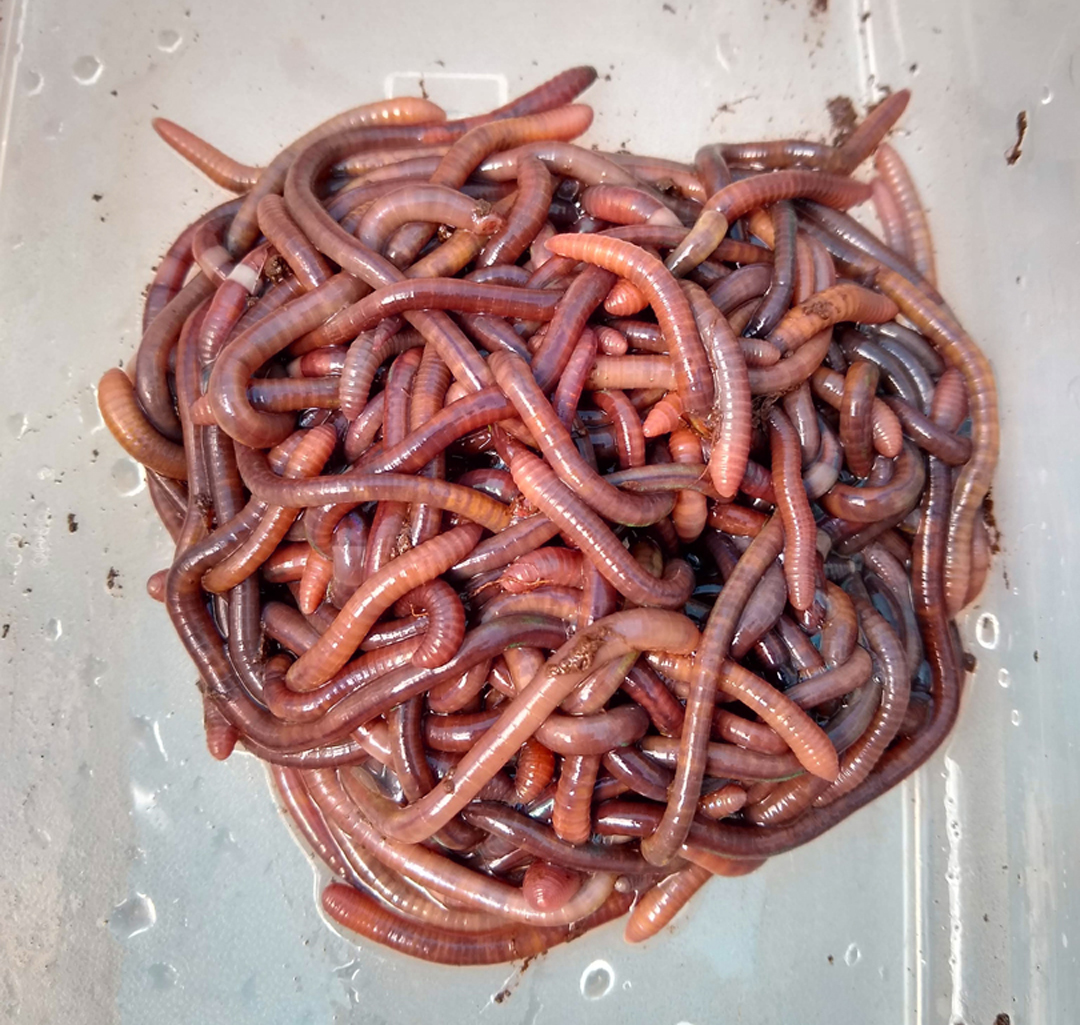
After a few months you can harvest your castings by removing the top layer of green waste and digging out the castings at the bottom, separating the worms and returning them back to the container.
Take note of how dense your population is, because it will give you a good idea of how well you are managing their environment. If they are happy they won’t migrate out through the drain holes.
When everything is done you should be left with several buckets full of rich black 100% organic castings. If the worms have thoroughly processed everything through, there shouldn’t be any unpleasant smell except for a slight earthy moist sent.